How to take iris photos
Nov 18, 2022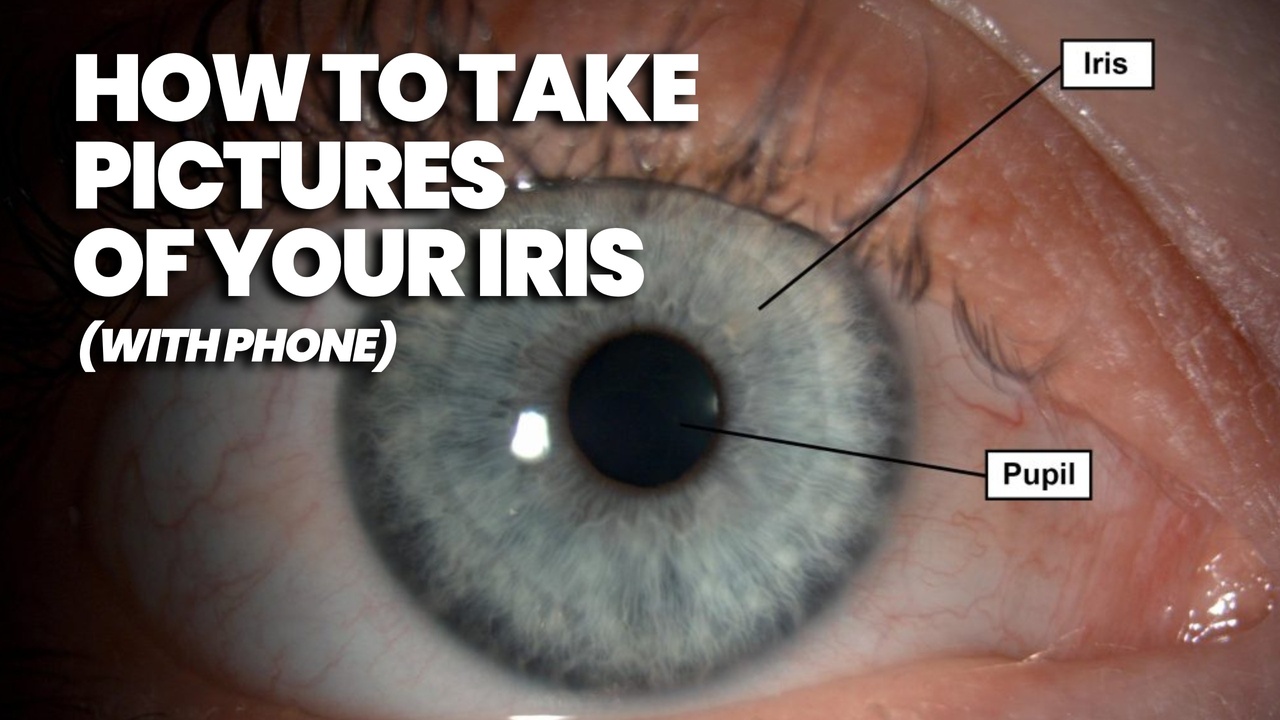
Here are some great videos to help you take the best quality Iris photos. I have also shown examples of good photos to give you a reference to how your iris photos should look.
Start with the third video (just above this) as its short and sweet.
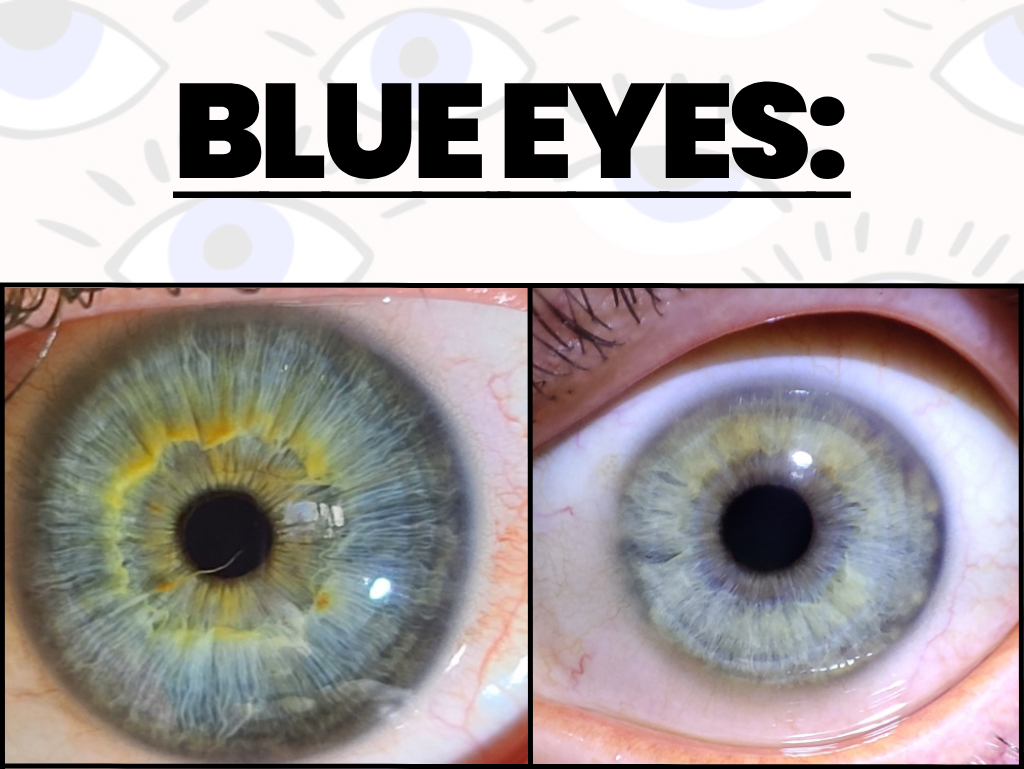
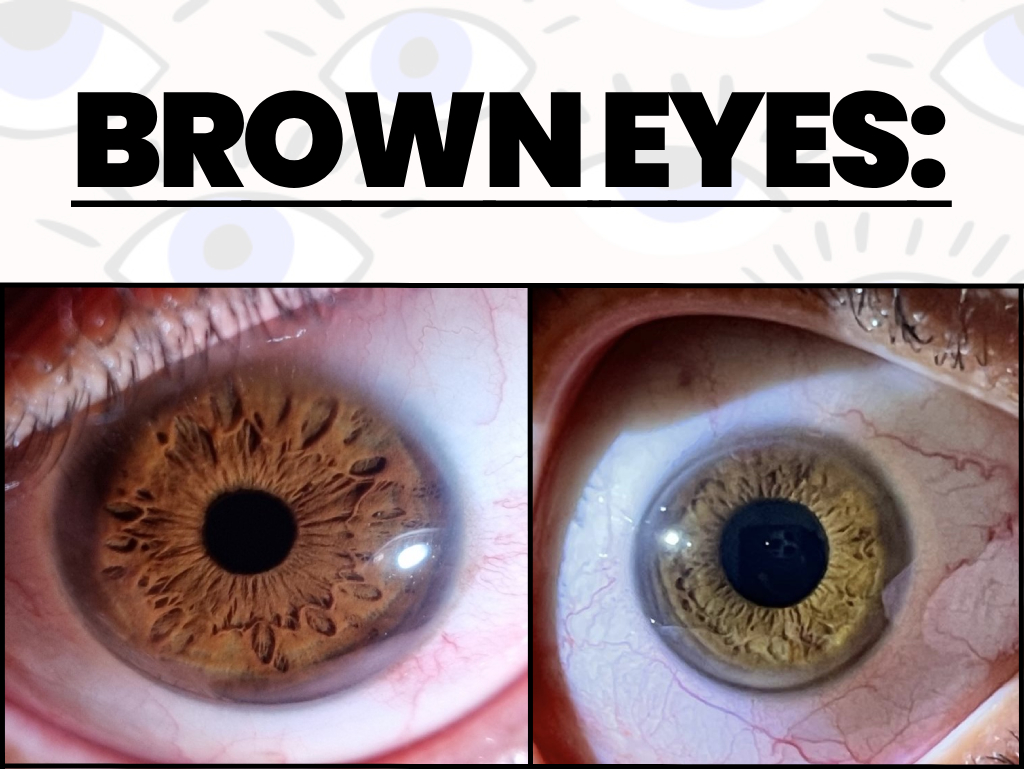
Here are iris examples from previous clients and all they used was their phone. This should act as a reference to you in regards to how your pictures should look. Try to get as close to this, or even better. This allows me to provide a more accurate and detailed report.
Here are some extra tips:
- The phone must be level with the eye. Meaning when you take the picture, the iris should be at the centre of your eye and equally at level with the phone. The photo not be angled.
- Using an external white light source (small torch or phone camera light) a 45 degree angle to the iris is the best position so that it highlights the iris features. It’s really important with brown eyes that i see the features of the iris.
- Try get someone to take the pictures for you. It makes it much easier and it will be more stable that way.
- The main thing is you're trying to get a high quality and sharp image of the iris. This means the photo should not lose much quality when zooming into the photo. I'll need to zoom in often when analysing your iris, so i need a sharp image of the iris features.
If you want to fast-track your iris report, please send me your iris pictures before purchasing. That way i can confirm them already and start working on your report immediately. Please send your pictures to my email:
azeem@foundconsciousness.com
Thank you,
Azeem